Setup
svelteR assumes that the app structure is structured in a way similar to this svelte template. There is only two minor modifications that you need to perform on main.js and index.html. You can either do those after the fact by looking at the code following this section, or by using our fork of the template with those modifications included.
In short, you run this code in a terminal:
npx degit jmbuhr/svelteR-template svelte-app
cd svelte-app
npm install
Where “svelte-app” is the name of the folder you want to create the app in. Here are the 3 files modified to ensure that it works as a standalone app, as well as embedded into this document.
Modify index.html to look like this:
<!DOCTYPE html>
<html lang="en">
<head>
    <meta charset='utf-8'>
    <meta name='viewport' content='width=device-width,initial-scale=1'>
    <title>Svelte app</title>
    <link rel='icon' type='image/png' href='favicon.png'>
    <link rel='stylesheet' href='/global.css'>
    <link rel='stylesheet' href='build/bundle.css'>
    <script src='dev_props.js'></script>
    <script defer onload="window['svelte-app']('body', props)" src='build/bundle.js'></script>
</head>

<body id="body">
</body>
</html>
Inside of docs/dev_prop.js define the properties of your app for development e.g.
props = {"name": "App Name"};You can fill this file with data from R using the function write_dev_props e.g.
write_dev_props(path = "svelte-app/docs",
                props = list(name = "App Name",
                             devData = mtcars))
Lastly, modify src/main.js like this:
import App from './App.svelte';

const app = (targetId, props) => new App({
    target: document.getElementById(targetId),
    props: props
});

window['svelte-app'] = app;
export default app;
Note that ‘svelte-app’ has to be a unique name for your app. Make sure it is the same in window['svelte-app'] in index.html and in src/main.js. A good convention is to use the name of your app-directory
app is now a function of a targetID and some properties. This allows us to include the same app multiple times into different divs and pass different properties to them.
Then run the following in the app directory to preview the app on localhost while working:
npm run devAnd finally build the app (so that you can ship it or include it in this document):
npm run buildDemo Time!
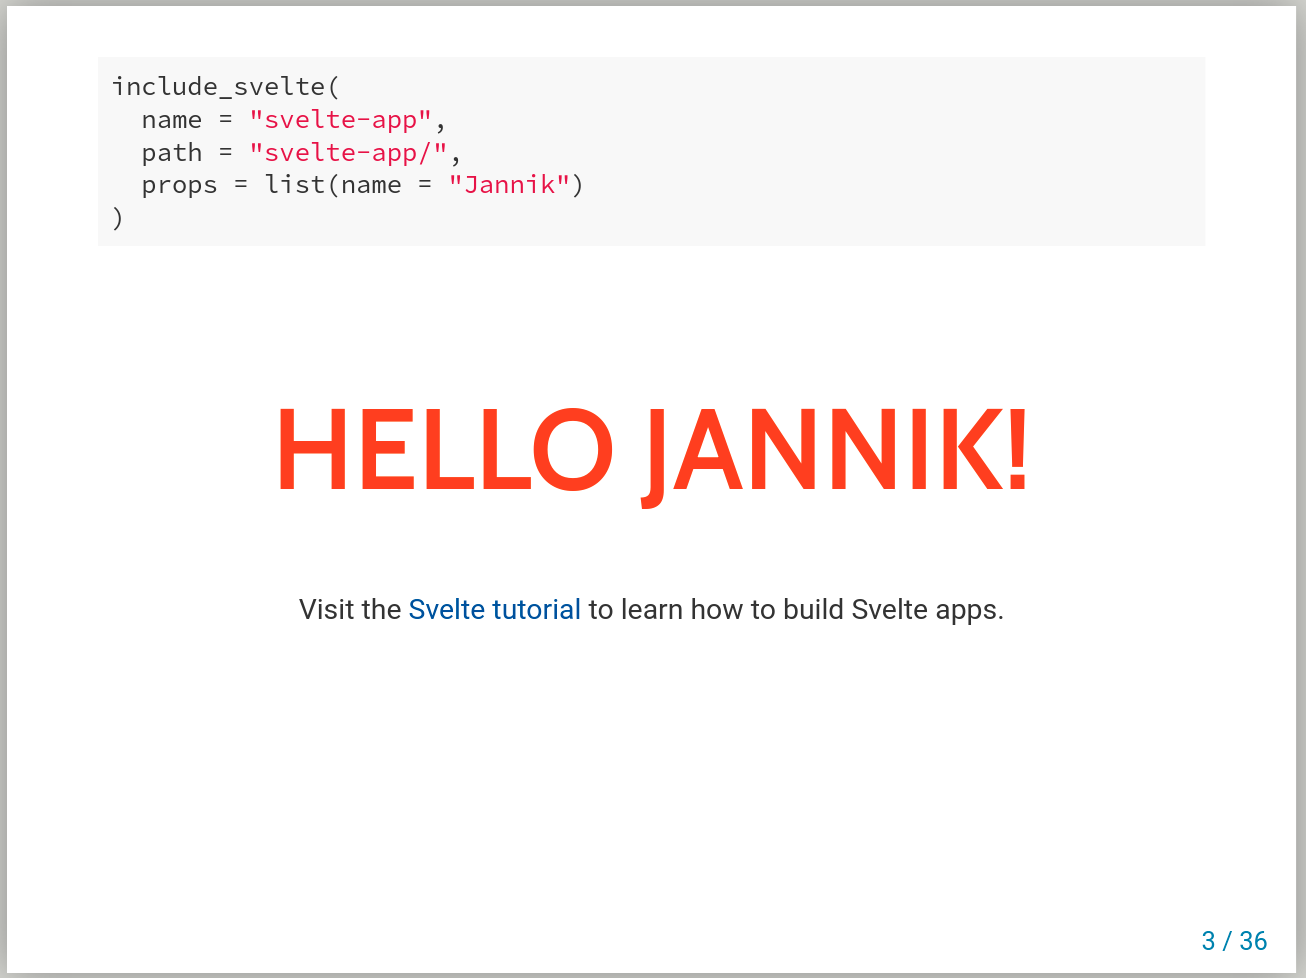
Embed the same app multiple times with different properties. props takes and R list which is converted to JSON to be used in the app. The path should be relative to you Rmd file. You can use the example app installed with this package via:
svelteR::include_svelte(name = "svelte-app",
                        # path relative to your Rmd file
                        path = system.file("svelte-app/docs", package = "svelteR"),
                        props = list(name = "First"))
This will embed everything the app needs in the html file. If you want to avoid this, you can pass self_contained = FALSE to the function. However, for the purpose of this documentation with pkgdown, we need to reference the path like this:
svelteR::include_svelte(name = "svelte-app",
                        path = "../inst/svelte-app/docs",
                        props = list(name = "First"))
And include the app as a resource in the yaml header:
resource_files:
  - '../inst/svelte-app/docs/'
Once again: This is only necessary for this documentation due to the way pkgdown handles external files. You won’t have to do this step.
And another example:
svelteR::include_svelte(name = "svelte-app",
                        path = "../inst/svelte-app/docs",
                        props = list(name = "Second"))
CSS Priority
Note that the demo app included in this package (see system.file("svelte-app", package = "svelteR")) looks slightly different when built on it’s own, in a fresh Rmarkdown document or in this pkgdown documentation website. The reason for this is the order in which css files are imported. I am willing to sell this as a feature instead of a bug. You can use this to your advantage, if you know the rules. So here they come:
- Custom css for your Rmarkdown document, under which the bootstrap framework of this documentation site made with pkgdown falls, will have precedence over
global.cssin yoursvelte-app/docs/folder. - css defined in individual components of the svelte app, or the main
App.sveltewill have precedence over both.
Try it out!
svelteR should work with most Rmarkdown output formats that produce html files. This includes Xaringan presentations, which I am personally very excited about!
You can use svelte apps to produce interactive visualizations with a range of java script graphing libraries that fit neatly in with svelte. I recommend sending some data to your app as properties for development using write_dev_props and then passing data of the same structure to the apps when embedding them in your Rmarkdown document.